The motor has been something of a challenge! As I mentioned before, I’m keen to do this right and “without breaking it more than it already is” – which was foreshadowing at it’s best…
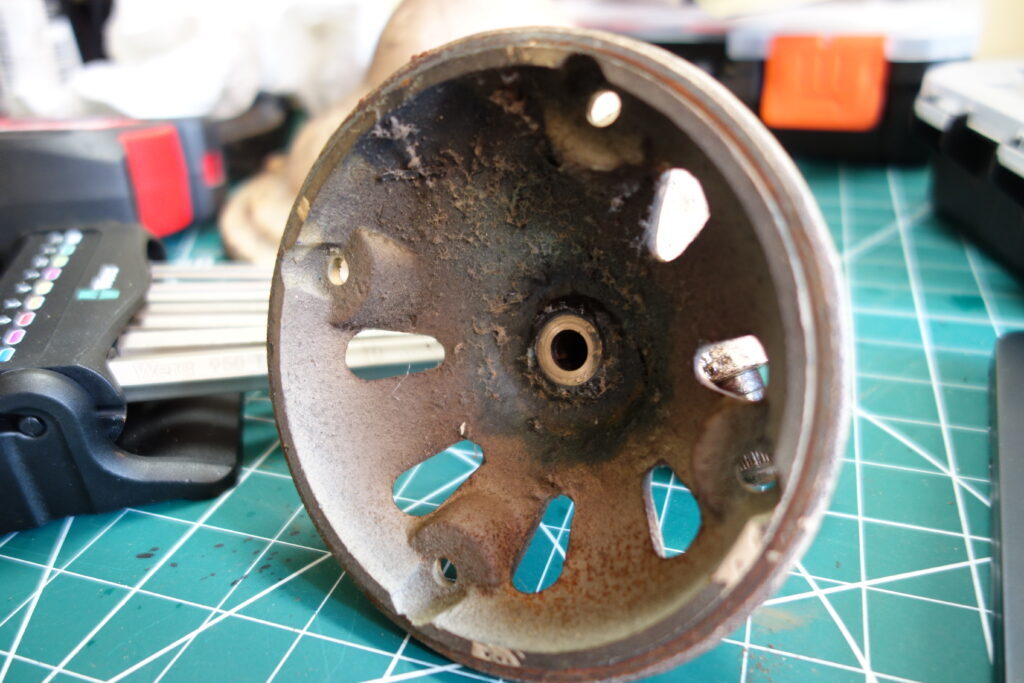
The motor housing was easy to split. The rear of the housing came away once the four nuts were removed.
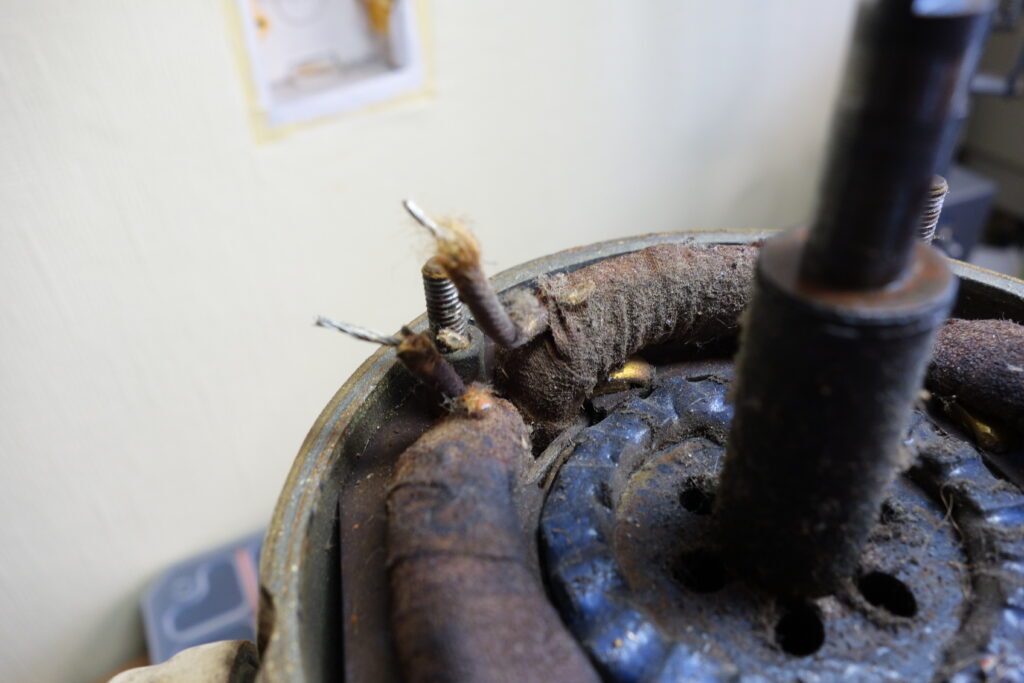
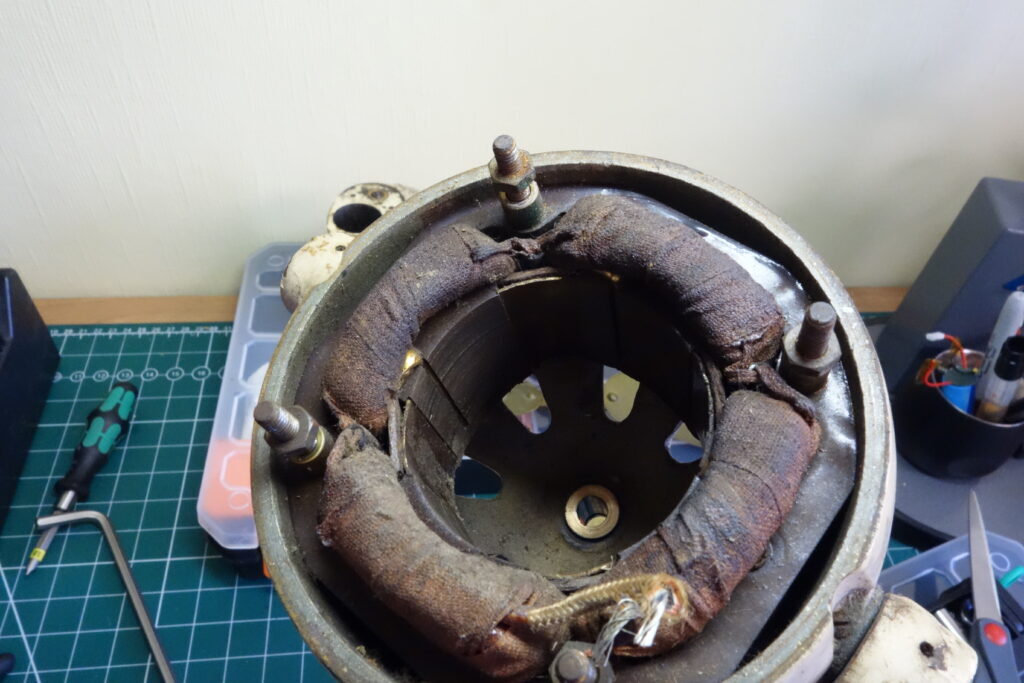
I was slightly alarmed by the lack of wire left for me to solder a new cable onto. I’m sure it wouldn’t have been too much trouble, but I was hoping to see more.
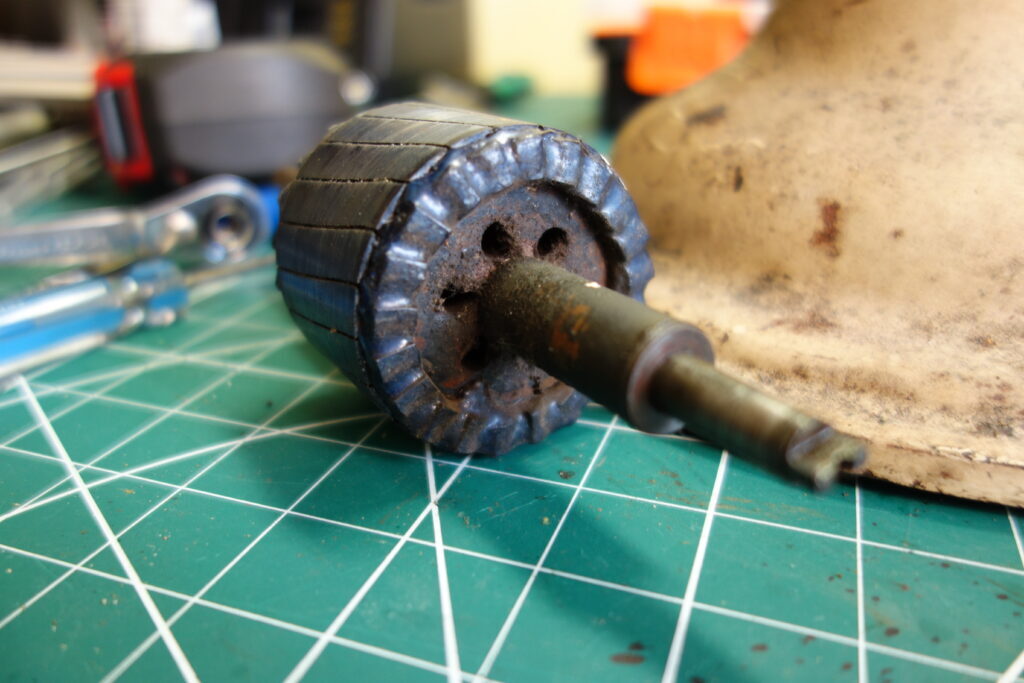
Removing the rear of the housing made it possible to access the rotor. It took a medium amount of persuasion to slide this rotor out from it’s resting place.
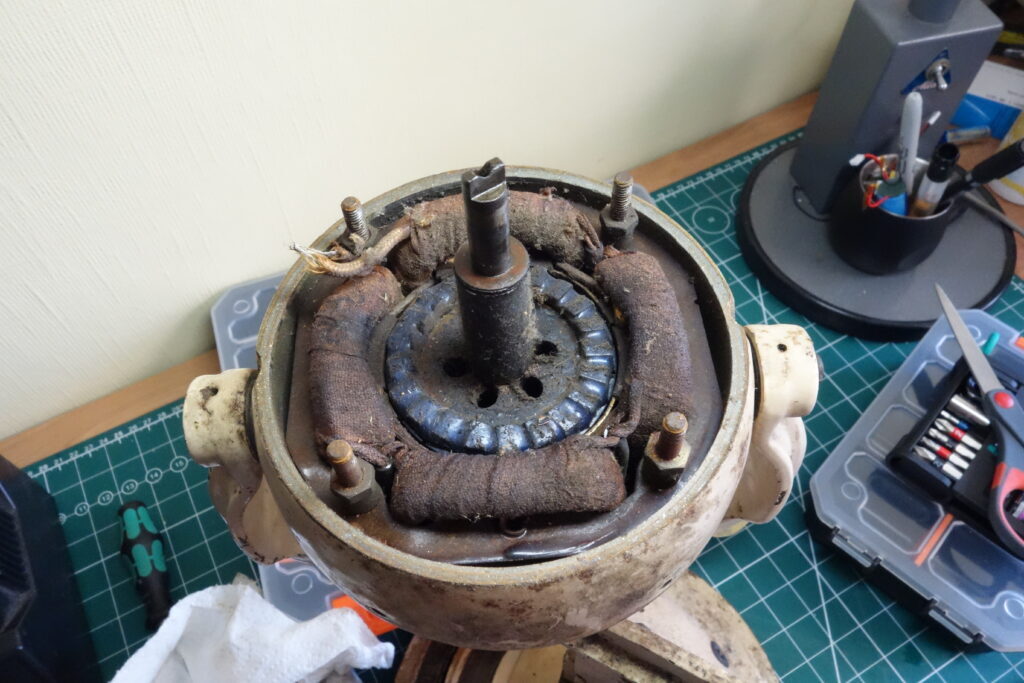
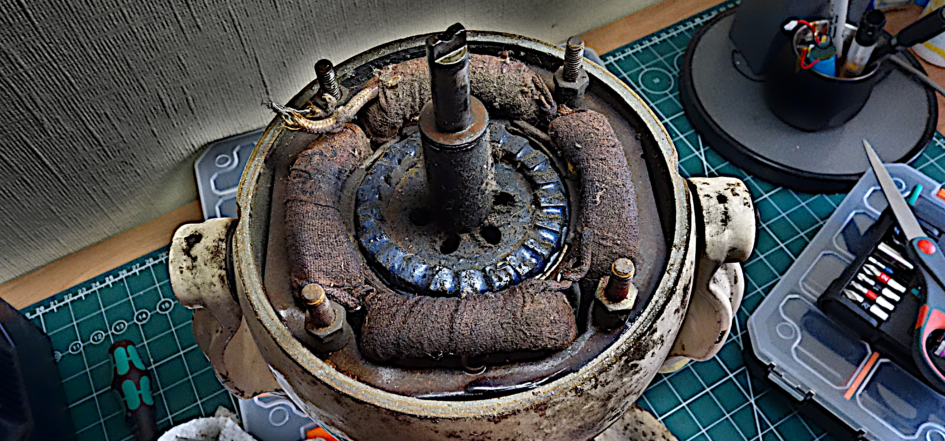
It’s pretty grotty
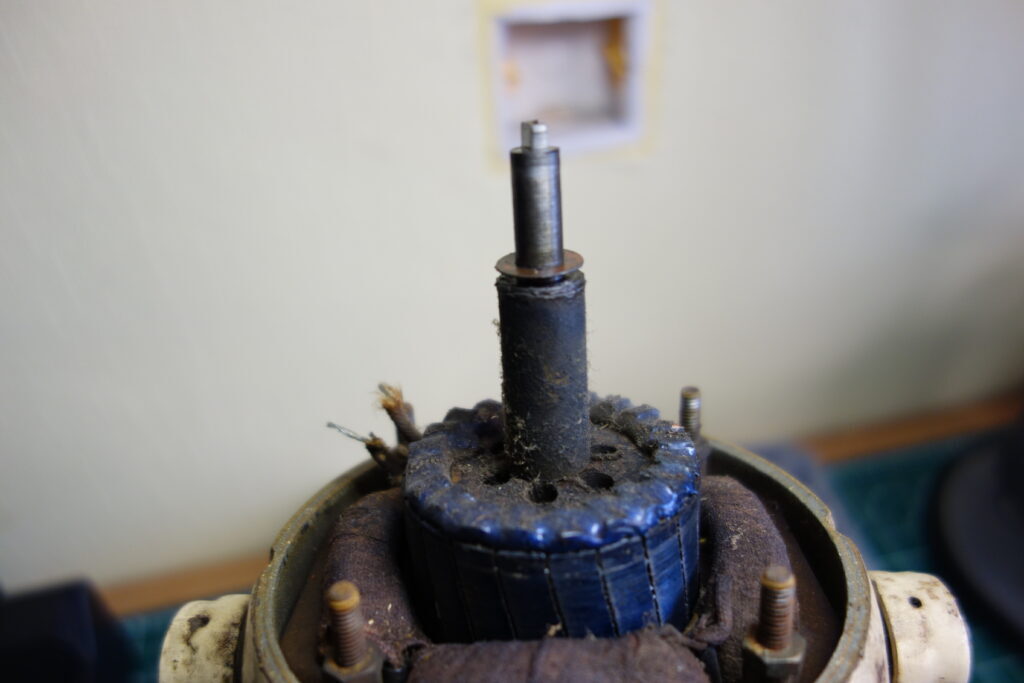
The rotor was painted blue. Not sure why, but this made it clear that it’s been rubbing a little bit. Hopefully this is just a result of the buildup of grime.
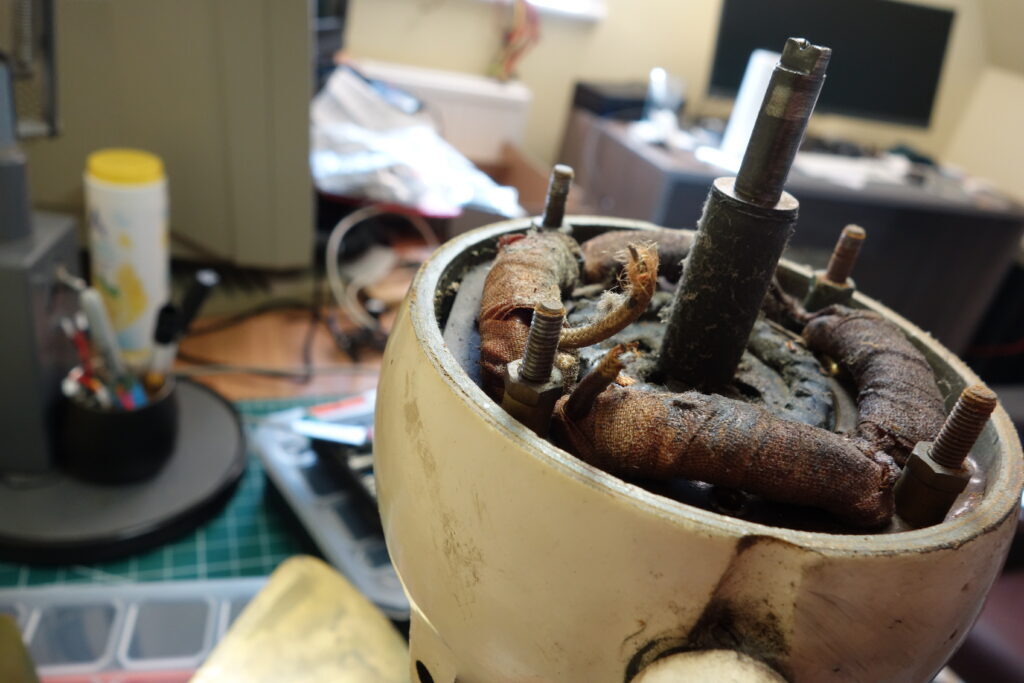
After removing the rotor, I started work to remove the stator. This was firmly fixed inside the motor housing (as it should be)
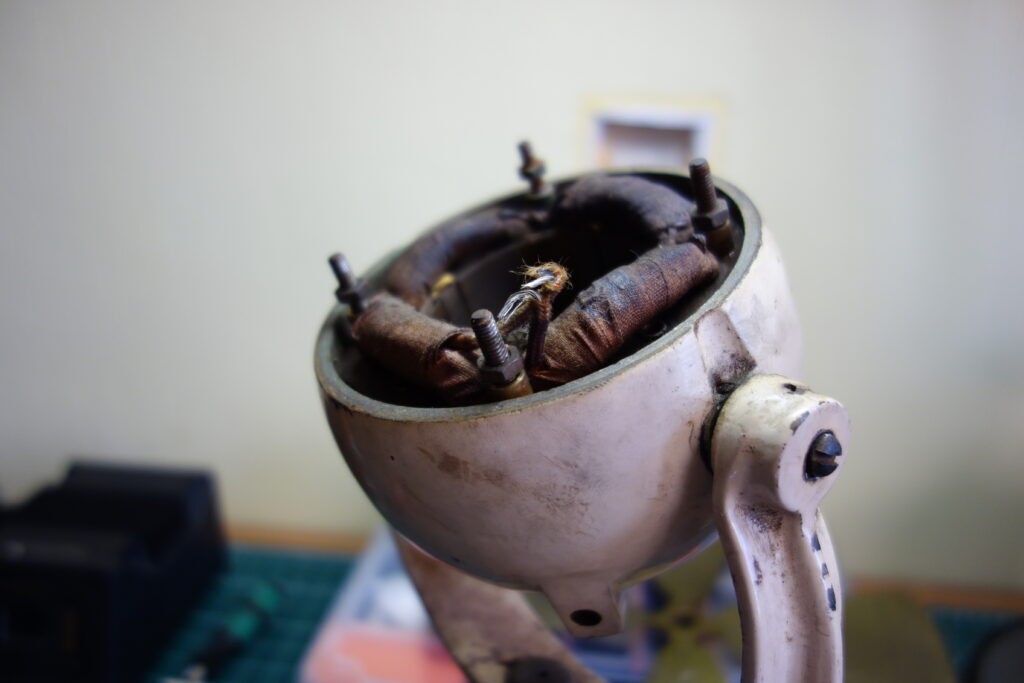
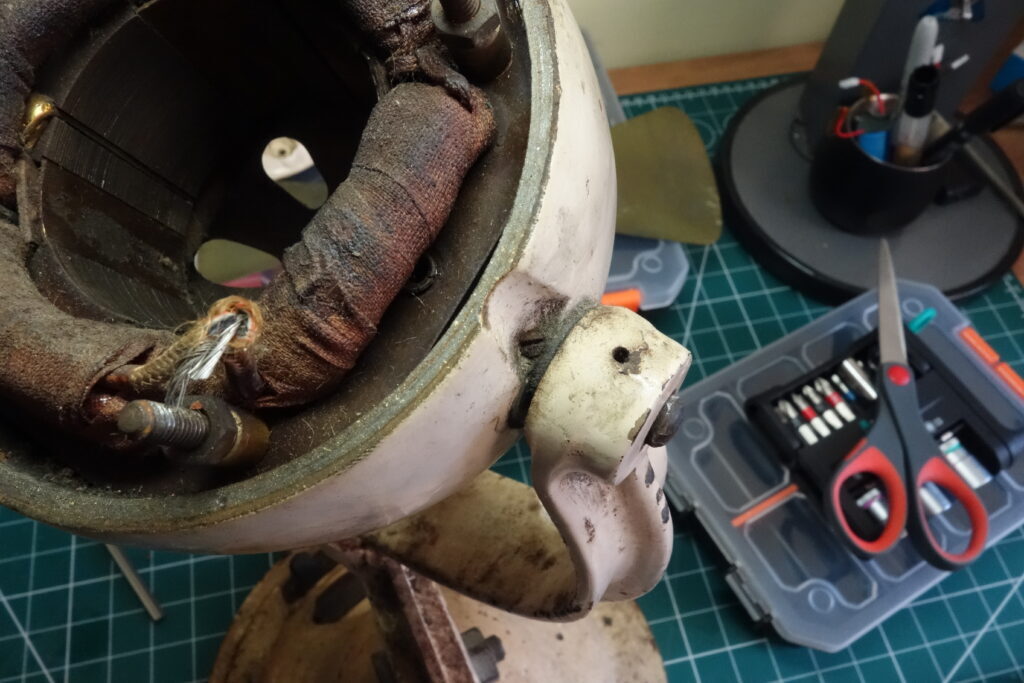
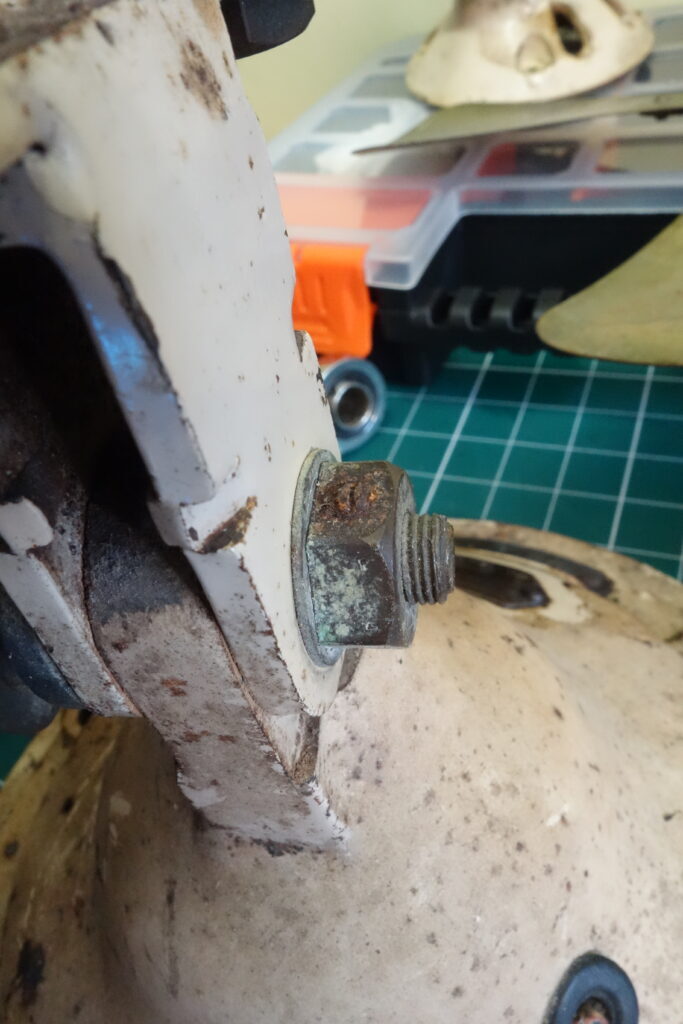
I loosened the four nuts off and removed the collars. I was hoping this might help free up the stator from the housing, but no such luck.
To remove the studs, I ordered a pack of 10-32 nuts from eBay so I could cinch these down onto the studs and wind them out with a spanner. I didn’t want to risk damaging the studs or the original nuts.
So, while I was waiting for my order, I decided to disassemble more of the fan.
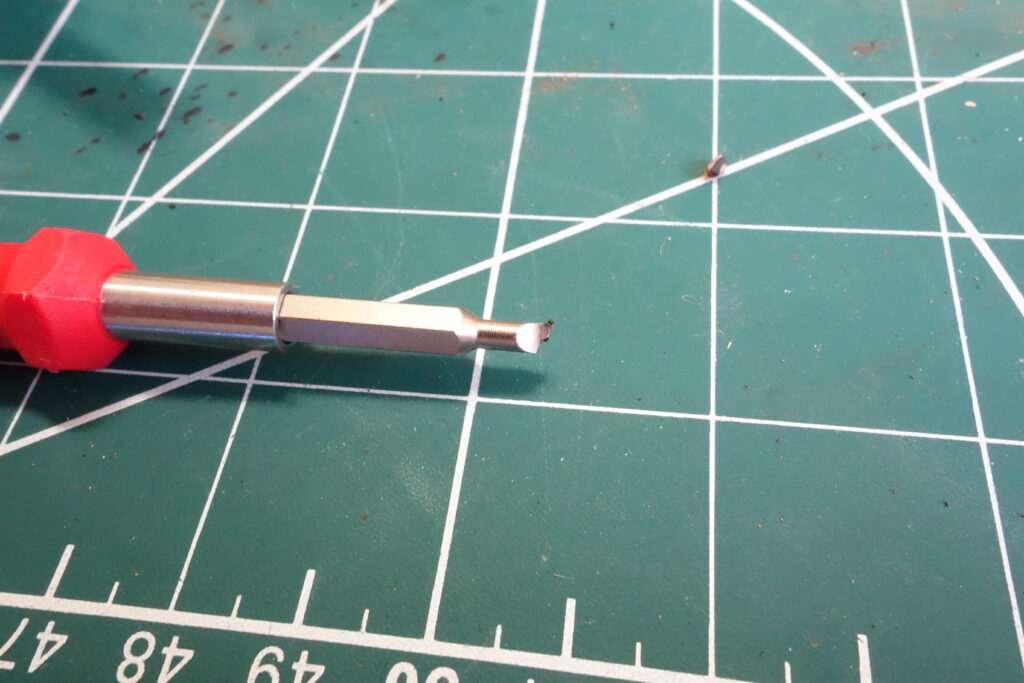
There are sneaky little grub screws all over the place!
In fact, that little shit broke my previously unused Wera screwdriver bit that I got from an advent calendar.
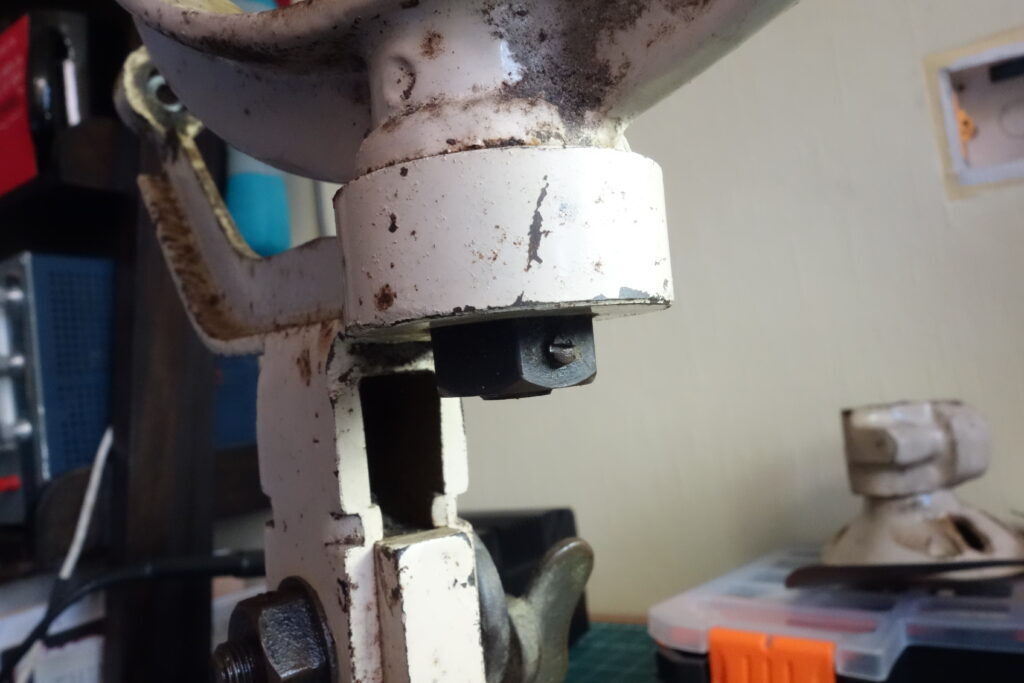
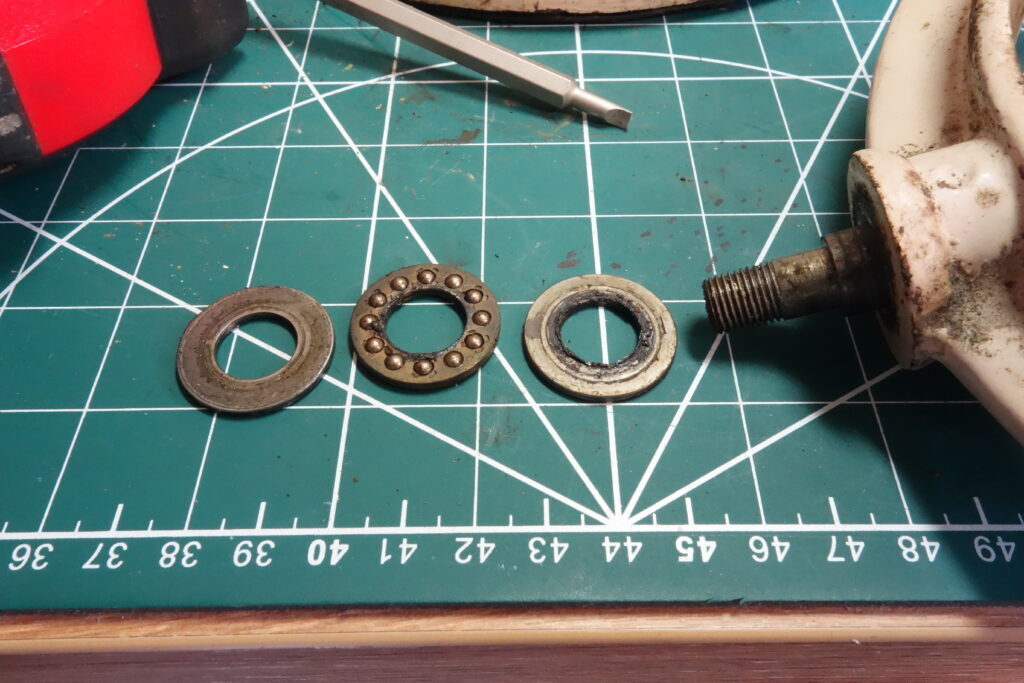
I removed sneaky grub screw #4 and then loosened the nut. I took a photo of the shaft coming apart, just to make sure I knew which bits go where when putting it back together. As it happens, this has a lovely little thrust bearing in it, so that’s easy enough.
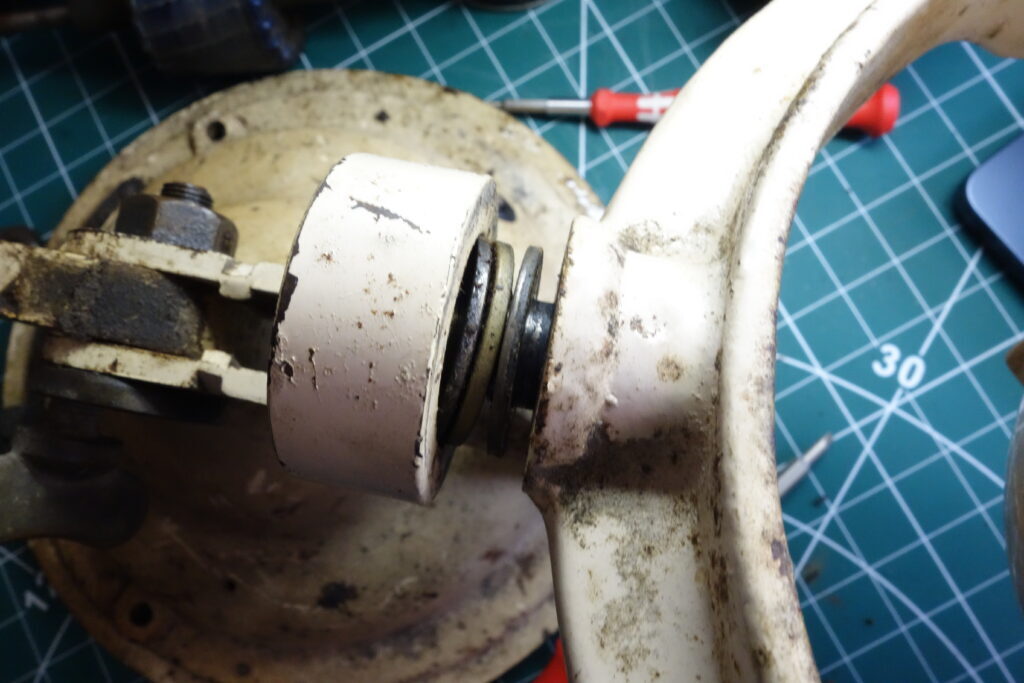
The shaft came out easily enough just giving it a tap upwards on the bottom of the bolt. This popped off the nice brass cap that was making the end of top of a shoulder bolt look more attractive.

Piece of cake, I was thinking at this point…

Leave a Reply